
L2IREAL INSTALLATION & START GUIDE
Follow these steps to install the clean client, apply the L2Ireal Auto Updater,
and enter the world with the correct files. No stress, no guesswork.
DOWNLOAD THE BASE CLIENT & THE L2IREAL UPDATER
Download the clean Lineage II Freya client (no modifications) and
the L2Ireal Auto Updater.
The clean client is just retail. The L2Ireal Updater patches it for our server.
Full HD resolution is recommended.

RUN THE INSTALLER (SETUP.EXE)
Open the downloaded client folder and double-click setup.exe.
If Windows asks for permission, click “Yes”.
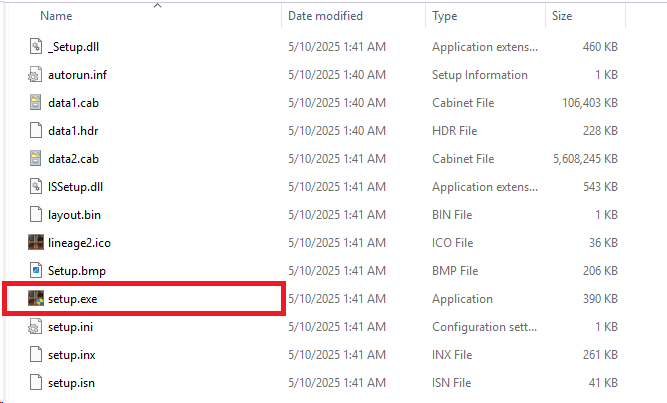
setup.exe to start installing Lineage II.SELECT FULL INSTALLATION
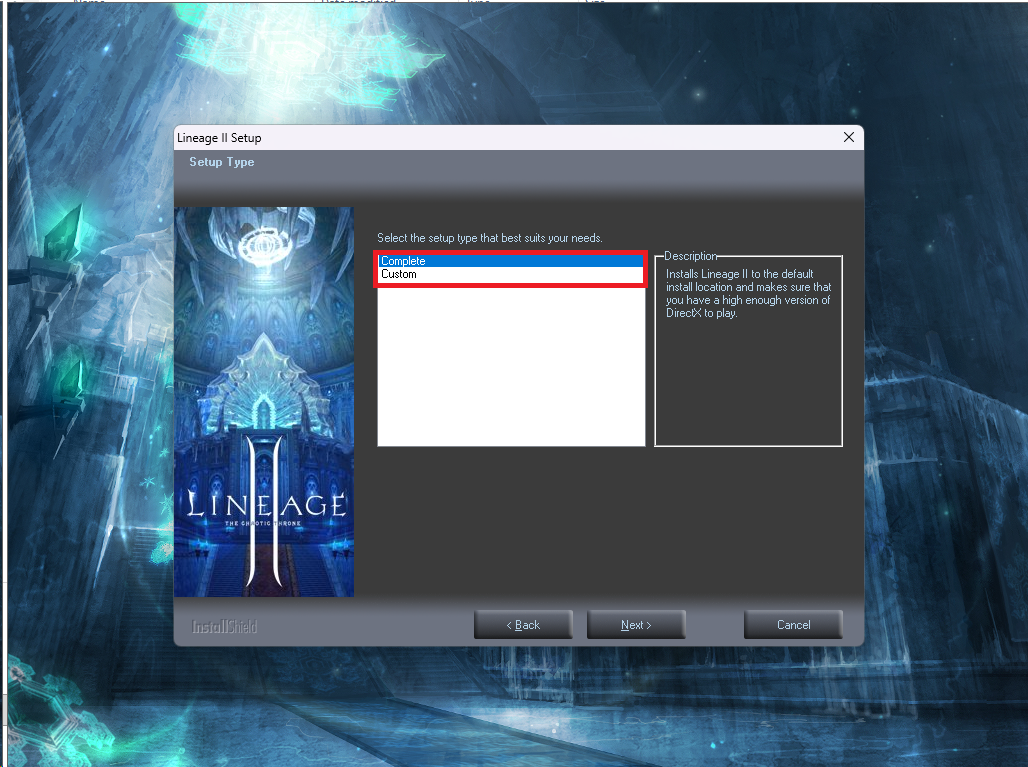
When the Lineage II Setup opens, choose Full installation and click
Next.
To install Lineage2 Client in a default location, choose “Complete” if you want to choose your own location, choose “Custom”.
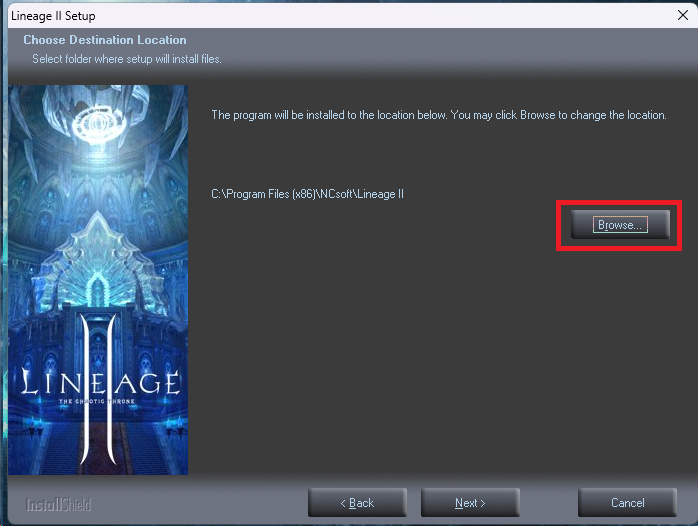
CHOOSE WHERE TO INSTALL THE GAME
Pick the folder where Lineage II will be installed.
Default is usually C:\Program Files\Lineage II.
You can click Browse… and choose something like
D:\Games\Lineage2\ if you want.
Click Next to continue.
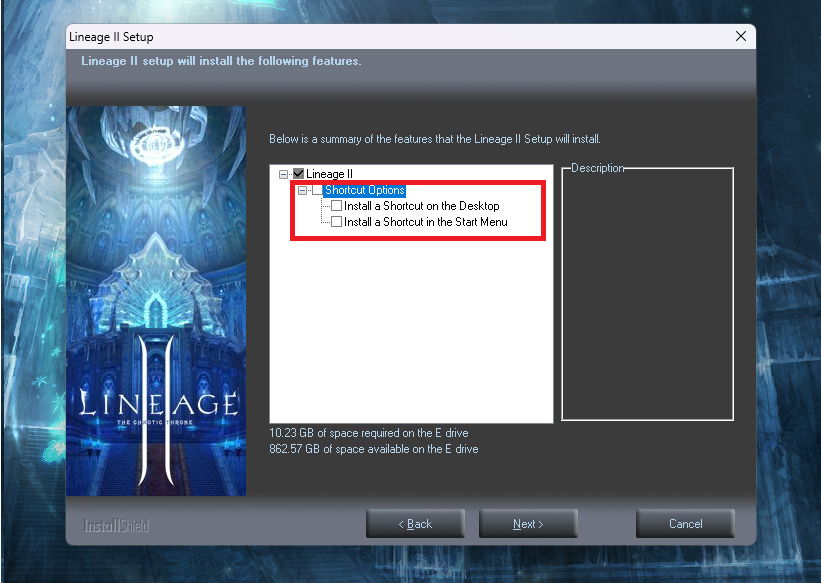
DO NOT KEEP THE DEFAULT COMPONENTS
The installer will show which components will be installed.
Uncheck the Shortcut Options and click Next.
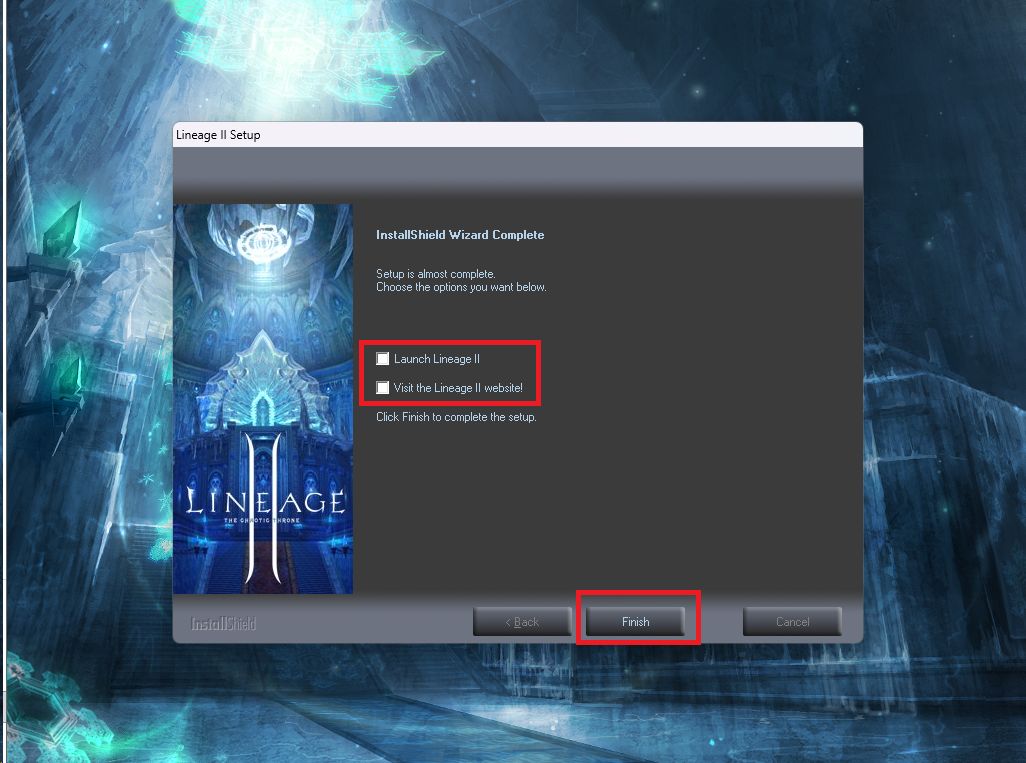
FINISH THE INSTALLER (DO NOT LAUNCH YET)
When the installation is complete, click Finish.
Important: Do not run the official client yet.
You must start the game using the L2Ireal Updater, not the original Lineage2.exe.
Uncheck the 2 boxes and click Finish.
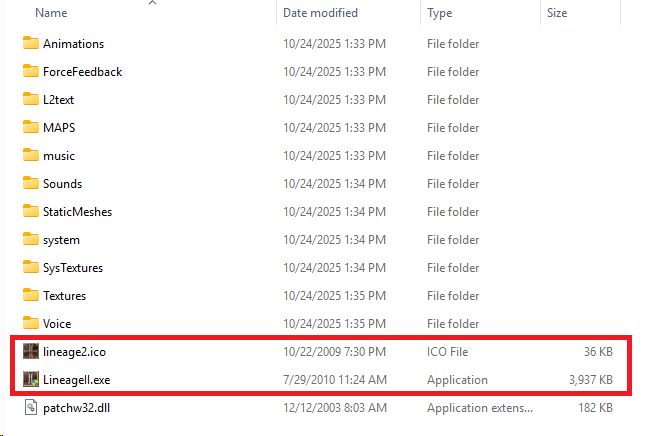
OPEN YOUR LINEAGE II INSTALL FOLDER
Go to the folder where you installed the game.
You’ll see the client files (system/, animations/, etc.).
This is your clean base client.
Keep this folder clean. Don’t mix patches from other servers, you can safely delete the Lineage2.ico and LineageII.exe
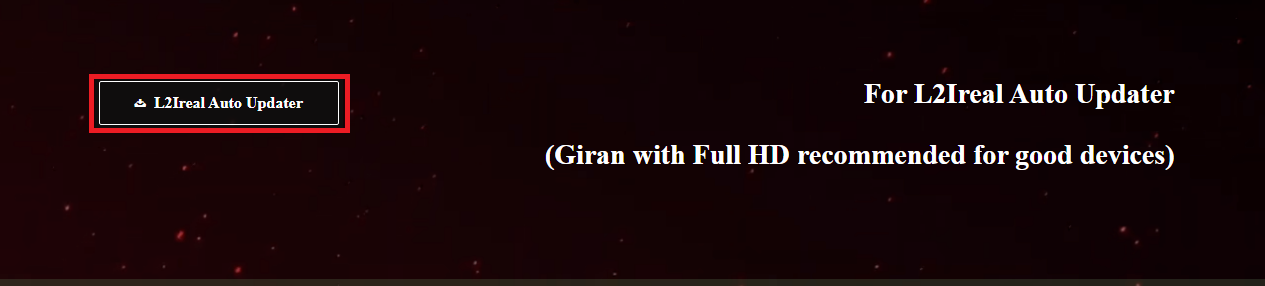
COPY THE L2IREAL UPDATER INTO THAT FOLDER
From our Website, download the L2Ireal Auto Updater !
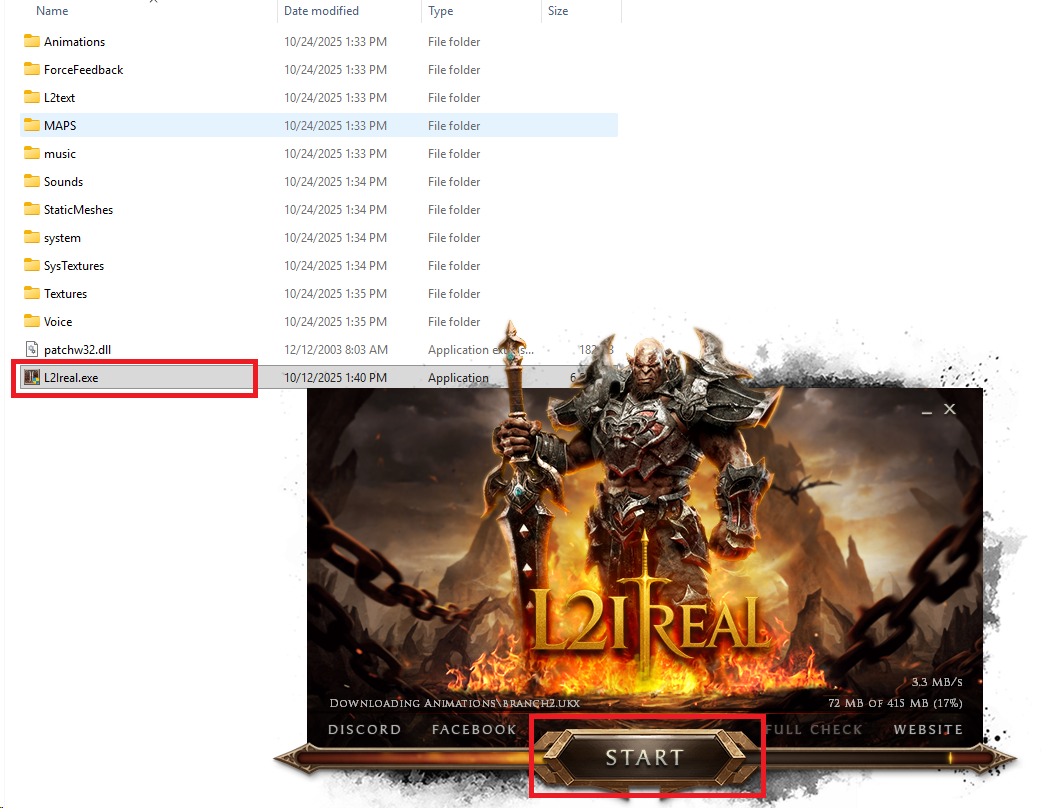
Coppy the L2Ireal.EXE in the folder where the game is installed :
Right-click L2Ireal.exe and choose
Run as administrator.
Admin rights let the updater modify the game folder.
Without that, Windows can block patch files and you’ll get errors.

PATCH & CLICK START
The L2Ireal launcher will check for updates and sync your client to the
latest version of the server.
When updating is complete, click START.
You are now connecting to the official L2Ireal server.
About the Windows “Protected your PC” message
If you see a blue Windows SmartScreen message saying “Windows protected your PC” when you start our updater, don’t panic. This is a normal reputation check from Microsoft for new applications.
Because our updater is new, it doesn’t yet have enough “reputation” (many successful launches on many PCs) in Microsoft’s system. As more players download and run it without issues, this warning will slowly disappear over time.
We’ve already applied an EU-compliant code signing certificate to the updater, so your antivirus should not flag or block it. The Windows SmartScreen warning is only about reputation, not about a detected threat.
If you downloaded the updater only from our official website and you see this screen:
– Click “More info”
– Then click “Run anyway” to continue
Thank you for your trust and understanding!